Common Surfboard Bike Rack Installation Mistakes
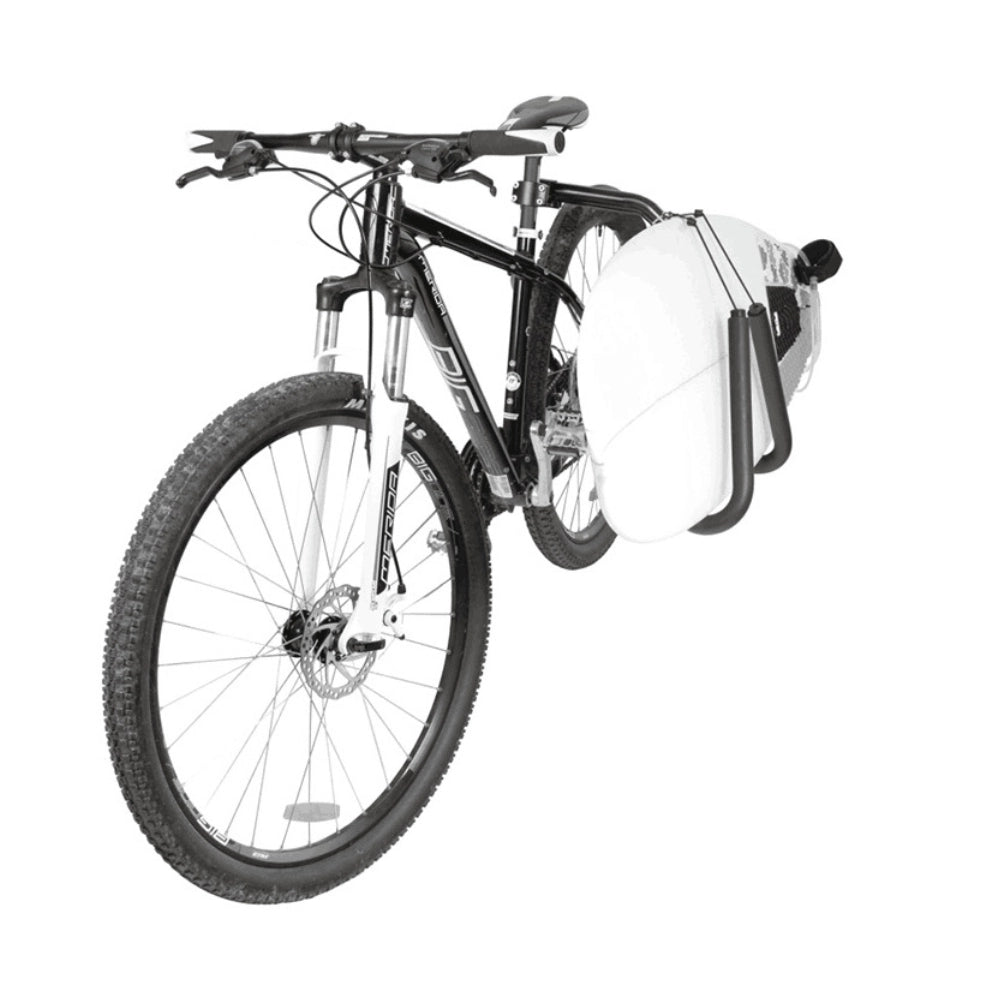
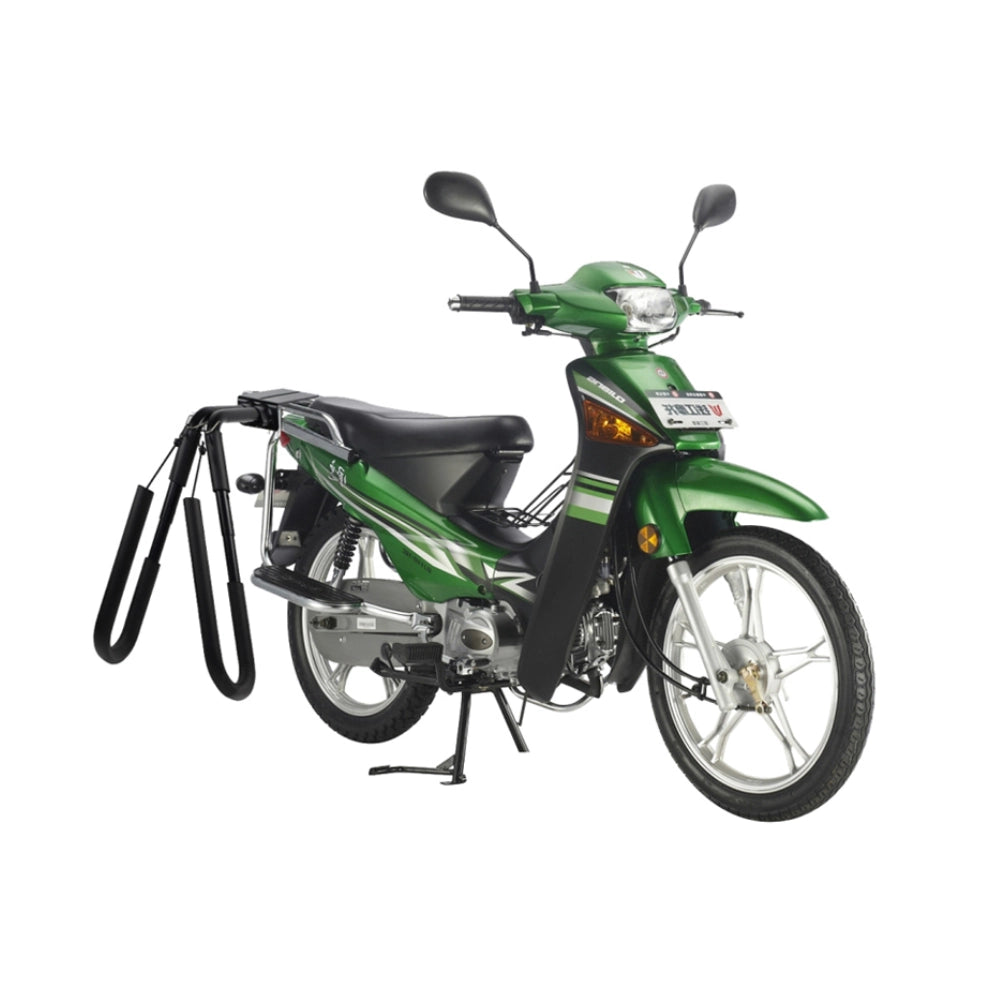
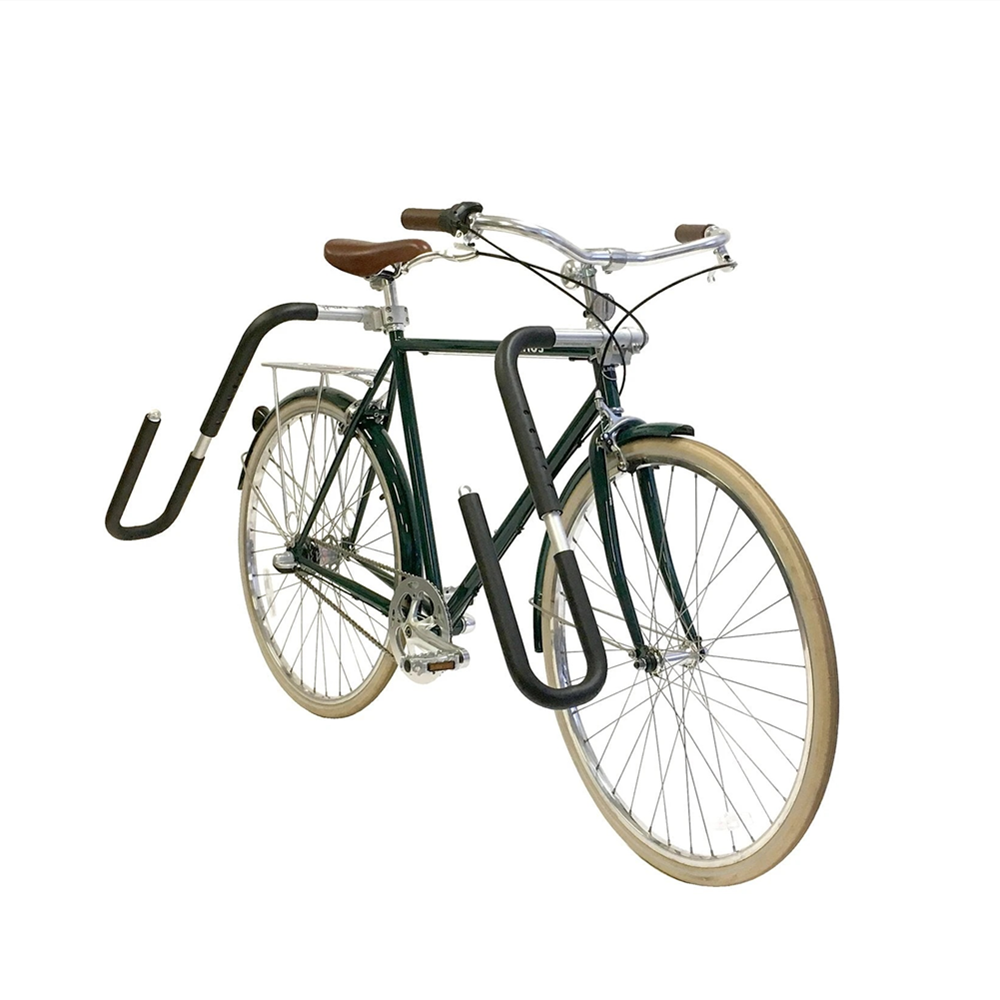
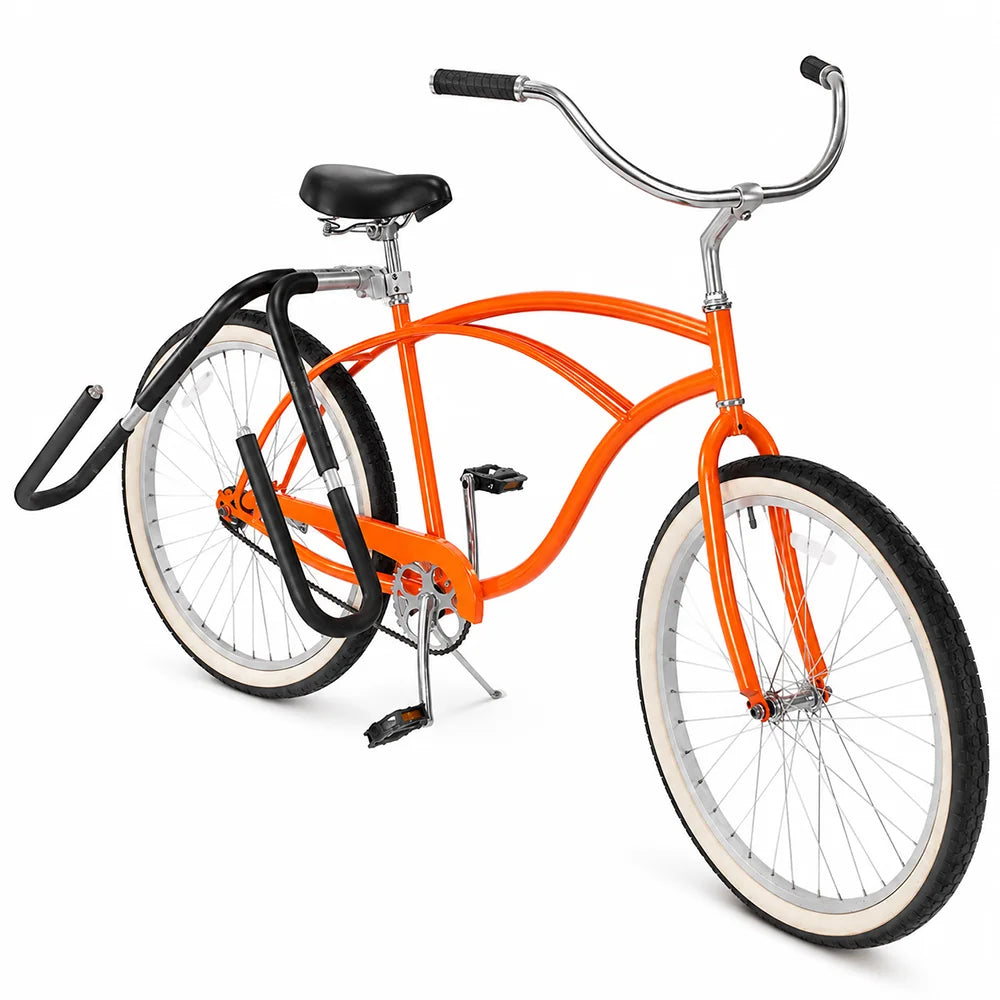
A surfboard bike rack can make beach trips easier, but small installation errors may cause wobbling, poor balance, scratched boards, or contact with the wheel.
This article focuses on problems riders often discover after installation and how to correct them without repeating a full step-by-step installation guide.
1. Mounting the Rack on an Unstable Area
The mounting bracket should sit on a strong, rigid part of the bicycle. Problems often begin when it is attached to a thin, curved, tapered, or flexible section of the frame.
Common warning signs include:
• The bracket slowly rotates
• The rack leans after a short ride
• New scratches appear around the mounting point
• The board gradually moves closer to the wheel
Move the bracket to a flatter and more stable area. Make sure it does not press against brake cables, electrical wires, suspension parts, lights, or moving components.
2. Tightening One Bolt Before the Others
Fully tightening one bolt before the opposite side can pull the bracket out of alignment. The rack may feel secure even though the mounting pressure is uneven.
Tighten the bolts gradually in an alternating pattern. This allows the bracket to close evenly around the mounting point.
After tightening, push the rack forward, backward, and sideways. It should not rotate or slide. Avoid overtightening, especially when mounting the rack on a lightweight bicycle tube.
3. Ignoring Pedal and Heel Clearance
A surfboard rack can look correctly positioned while the bicycle is stationary but still interfere with the rider’s heel during pedaling.
Sit on the bicycle and slowly rotate both pedals through a complete cycle while wearing your normal riding shoes.
If your heel, leg, or pedal touches the rack or surfboard, move the rack farther back or adjust the support-arm position.
This problem is especially common on smaller bicycle frames or racks mounted too far forward.
4. Placing the Board Too Close to the Wheel
A surfboard can shift slightly when riding over rough roads, even when it is secured. If the board, fins, straps, or rack arms begin too close to the tire or spokes, a small movement can become a safety problem.
Check the clearance around:
• The rear wheel and spokes
• The bicycle chain and crank
• The surfboard fins
• The rack support arms
• Any loose strap or cord ends
Leave enough space for the bicycle to lean naturally when turning.
5. Setting the Support Arms Unevenly
Uneven support arms may cause the board to sit diagonally, bounce during transport, or place too much pressure on one section of the board.
Place the surfboard in the rack before completing the final tightening.
Step back and check that the board:
• Is supported evenly
• Remains clear of the ground
• Does not lean toward the bicycle wheel
• Does not interfere with pedaling
The two support arms do not always need to look perfectly identical, but they should share the board’s weight evenly.
6. Securing the Board Too Loosely
The support arms carry the board’s weight, but they may not completely prevent vertical or sideways movement.
Rough roads, sudden braking, and crosswinds can make a loosely secured board bounce or lift.
Use the included straps, elastic retainers, or fastening system. The surfboard should remain stable when lifted gently by hand.
Do not leave cords hanging near the wheel, chain, or spokes. Avoid overtightening straps across delicate board rails or directly over the fins.
7. Loading the Board in the Wrong Position
There is no single loading direction that works for every bicycle, rack, and surfboard.
The safest position depends on:
• Board length
• Fin placement
• Bicycle geometry
• Rack-arm spacing
• Rider clearance
Confirm that the fins do not touch the bicycle or rack, the nose and tail have sufficient ground clearance, and the widest part of the board is properly supported.
A setup that works for a shortboard may not be suitable for a fish board, mid-length board, or longboard.
8. Skipping the First Short Test Ride
Do not test a newly installed surfboard rack for the first time on a long journey or busy road.
Start in a quiet area and ride slowly. Test gentle turns, braking, starting, and low-speed balance.
Listen for rattling and watch for movement in the rack or surfboard. After several minutes, stop and recheck the bolts, straps, support arms, and bracket position.
Mounting hardware may settle slightly during the first ride.
9. Forgetting Regular Inspections
Road vibration, repeated loading, rain, saltwater exposure, and frequent use of quick-release parts can gradually affect the rack.
Before each beach trip, inspect:
• Mounting bolts
• Support-arm alignment
• Protective foam padding
• Straps and elastic cords
• Quick-release fittings
• Metal parts for cracks, bending, or corrosion
This inspection usually takes less than one minute and can prevent board damage or unexpected rack movement.
Quick Troubleshooting
Why does my surfboard bike rack rotate?
The mounting area may be too curved or unstable, or the bracket may have been tightened unevenly. Recheck the mounting position and tighten the bolts gradually.
Why does the surfboard bounce in the rack?
The support-arm spacing may be incorrect, or the board-retaining straps may be too loose. Adjust the arms and secure the board according to the rack design.
Why does my heel hit the rack?
The rack is probably mounted too far forward. Move the mounting bracket farther back or adjust the support-arm position.
Why does the rack make a rattling noise?
Check every mounting and connection point. Make sure bolts are secure and removable or quick-release parts are completely locked.
Final Thoughts
Most surfboard bike rack problems are caused by poor positioning, insufficient clearance, uneven support, or loose fastening rather than complicated mechanical faults.
A careful inspection and a short test ride can help protect your surfboard, bicycle, and rack.
For complete assembly instructions, read our How to Install a Surfboard Bike Rack guide. To compare models for shortboards, longboards, e-bikes, and quick-release use, visit our Surfboard Bike Rack Collection.